Make Deadly Lava in Roblox Studio with Luau
Add a lava floor beneath your three-stage obby, then use the Touched event and Humanoid to respawn any character that falls onto it.
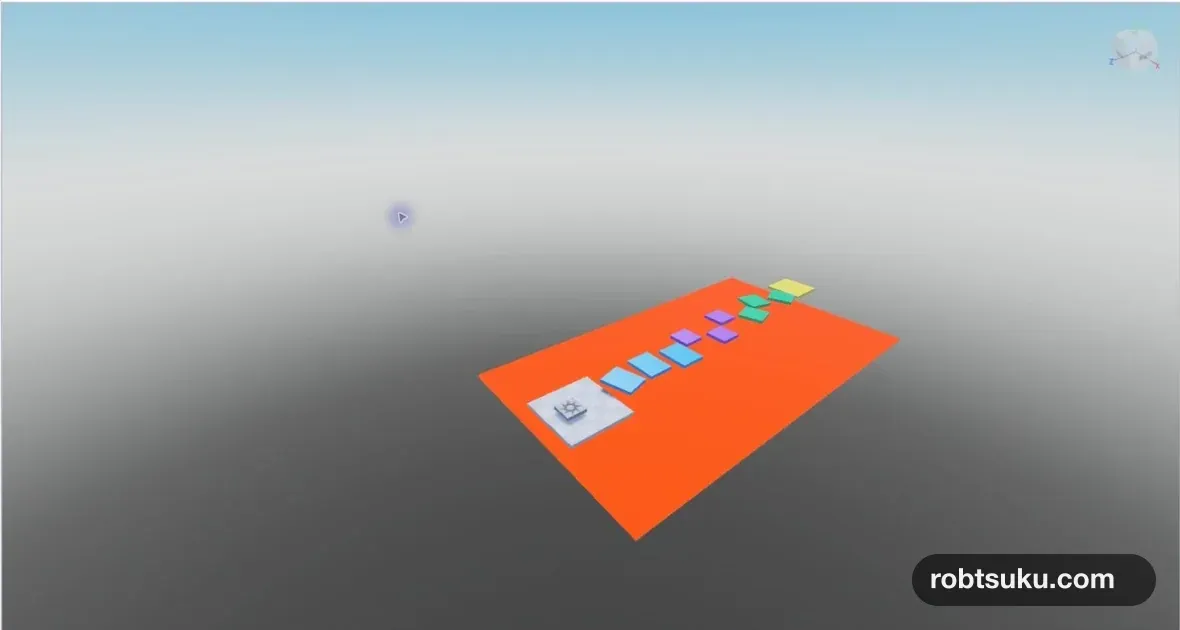
In the previous lesson, falling from a platform only sent your character into the empty space below the course. Add a wide lava floor that defeats the character on contact and sends them back to the SpawnLocation.
This is the first lesson that uses a Script and Roblox’s programming language, Luau. You do not need to memorize the code. Follow its three jobs: receive the part that touched the lava, look for a Humanoid in the character, and set its Health to 0.
Create the lava Part
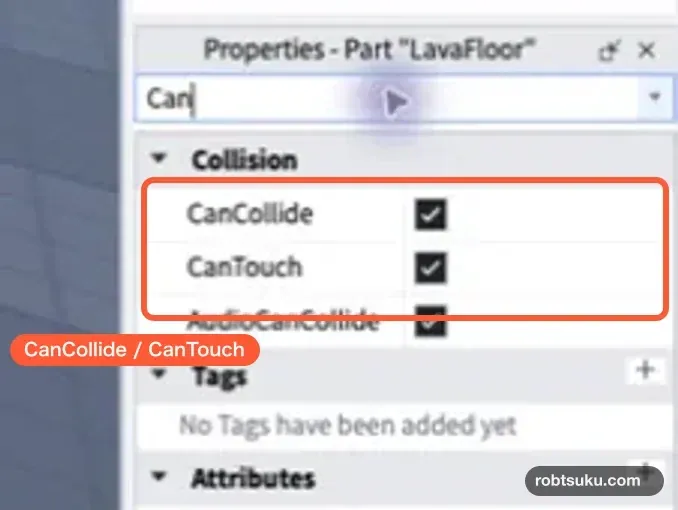
Select Part on the Home tab, then rename the new Part to LavaFloor in Explorer. Set these values in Properties:
- Size:
70, 1, 125 - Position:
0, -4, -50 - Anchored: on
- CanCollide: on
- CanTouch: on
- Color: orange
- Material:
Neon
The Part should form one large sheet beneath StartIsland and all three stages. Its top surface is about 3.5 studs below StartIsland, so the character will not touch it at the beginning. It only catches a character that falls outside the course.
Press Play and the Neon surface will look brighter. It now resembles lava, but it still behaves like an ordinary floor. The Script in the next section adds the failure and respawn behavior.
Add a Script to LavaFloor
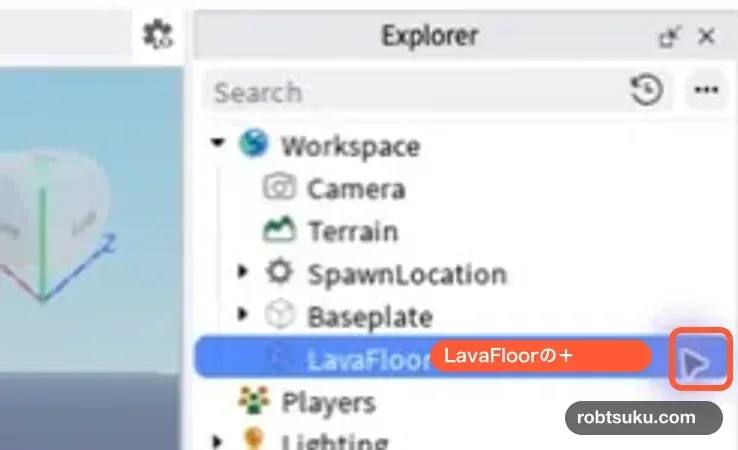
In Explorer, hover over LavaFloor and select the + button that appears on its right. If the button is hidden, right-click LavaFloor and select Insert Object.
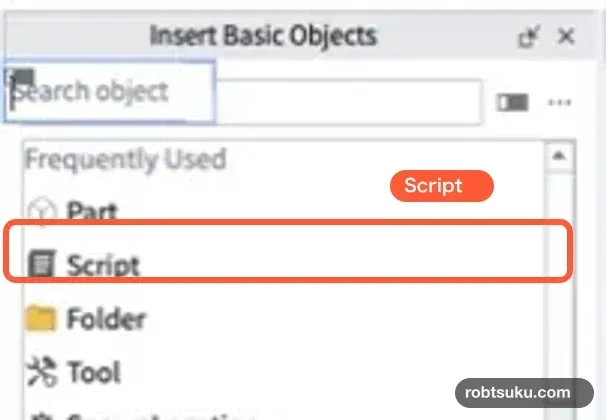
Under Insert Basic Objects, select Script. If it is not visible, type Script in the search box.
Rename the Script under LavaFloor to KillOnTouch.
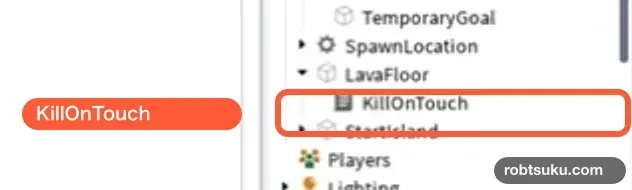
Double-click the Script, delete its starter code, and paste the following code. It follows the same basic structure as Roblox’s official Deadly lava tutorial.
local lava = script.Parent

local function kill(otherPart)
	local partParent = otherPart.Parent
	local humanoid = partParent:FindFirstChild("Humanoid")
	if humanoid then
		humanoid.Health = 0
	end
end

lava.Touched:Connect(kill)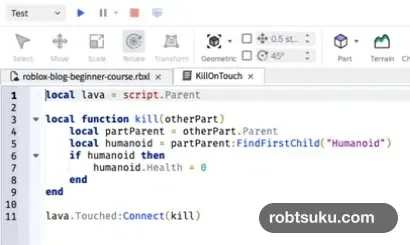
Tip: Indentation shows which lines belong together
The spaces at the start of a line are called indentation. Think of a house containing a room, with a desk inside that room and an item inside the desk drawer. Each deeper level is moved farther to the right. Here, the body of the
functionis indented once and the body of theifis indented twice. Eachendreturns to the level of the block it closes. Roblox’s Functions documentation shows the samefunction ... endstructure.
Keep the parentheses, quotation marks, and capitalization exactly as shown. If Studio adds a red underline after you paste the code, compare that line and the line immediately before it with the example.
Read the code through two analogies
Tip: Objects and the dot operator
A house contains objects such as rooms, desks, chairs, and lights. Each one has information such as a color, size, or location. Roblox also represents Parts, Scripts, and characters as objects with properties such as color, health, and parent-child relationships. A dot means “use information that belongs to this object.” In
script.Parent,scriptis the currentKillOnTouchScript andParentis the object directly above it in Explorer:LavaFloor. Roblox’s Data model explains this object hierarchy, and Properties and attributes shows property access with the dot operator.
The first line, local lava = script.Parent, gives LavaFloor the shorter name lava. The remaining code can use that name without locating the object again.
Tip: A function and an event work like a doorbell
A doorbell connects a signal—the button being pressed—to an action—the chime playing. In code, a function groups an action that can run later, while an event signals that something happened. Here,
killis the action that defeats the character,Touchedis the signal that something touched the lava, andConnect(kill)connects the two.
The block from local function kill(otherPart) to its matching end runs after contact. The character’s foot, leg, or another body Part reaches the lava first, and that Part arrives in the function under the name otherPart.
otherPart.Parent moves up from that body Part to the complete character. FindFirstChild("Humanoid") then searches the character for its Humanoid, which controls health and movement. The if humanoid then block runs only when that object exists. It accesses the Humanoid’s Health property and sets it to 0, causing the character to fall apart and respawn at a SpawnLocation.
The final line, lava.Touched:Connect(kill), is the doorbell wiring. Without it, the kill function would exist but no lava contact would run it.
Test defeat and respawn
Press Play, walk off the side of StartIsland, and land on the lava. The character should fall apart on contact and return to the SpawnLocation a few seconds later.

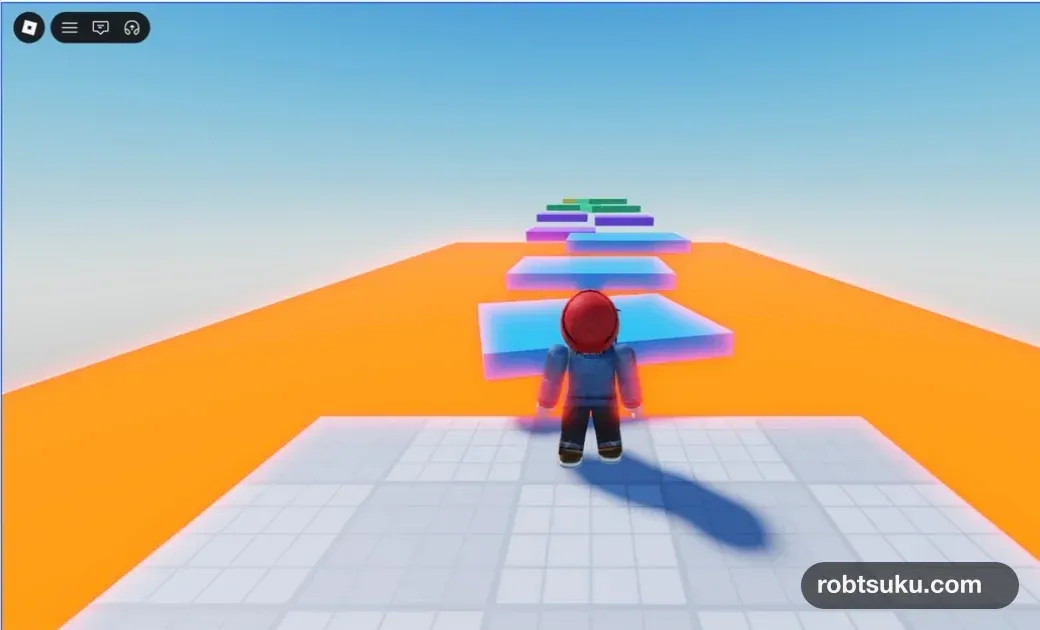
After respawning, test the blue, purple, green, and yellow course platforms as well. The character should remain safe on ordinary platforms and only be defeated by LavaFloor.
If it does not work
Check these items in order:
KillOnTouchis a child ofLavaFloorin Explorer.- CanTouch and CanCollide are enabled on
LavaFloor. - The capitalization of
Touched,Humanoid, andHealthmatches the example. - Open Output from the Window tab and read the line number of any red error.

Output displays Script errors and the results of print() calls. Roblox also describes it as the basic place to inspect runtime messages in the Output window documentation. Check the line before an error too; a missing parenthesis or quotation mark there can cause Studio to flag the following line.
Completion check
LavaFloorcovers the area beneath the course and is Anchored.KillOnTouchis a child ofLavaFloor.- Touching the lava defeats the character.
- The character returns to the SpawnLocation on StartIsland.
- Ordinary platforms do not defeat the character.
The obby now has a clear failure and restart loop. In the next lesson, you will add checkpoints so a fall does not always send the player back to the beginning.
Previous: Build Your First Obby: Make a Three-Stage Course
Next: Add Checkpoints to a Roblox Obby