Roblox Goal Badge: Award It with BadgeService
Create a goal badge in Creator Dashboard, then award it safely from a server Script when a player touches GoalPlatform.
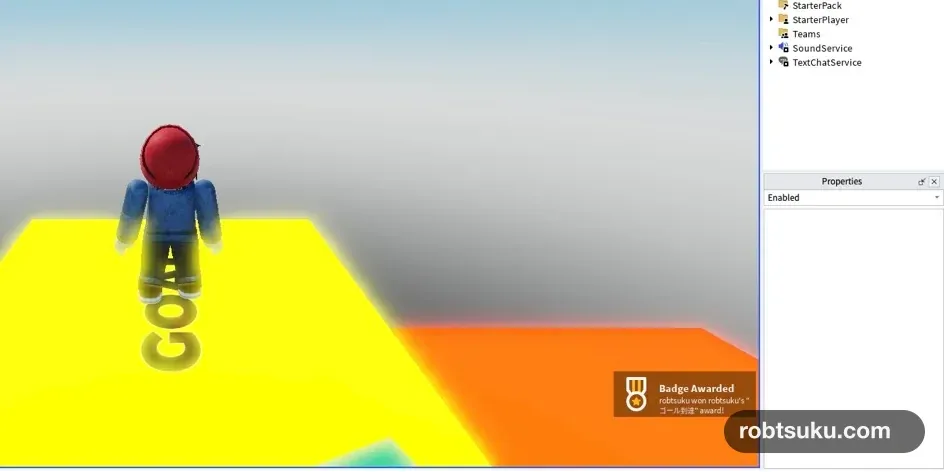
Touching the yellow GOAL will award a Goal Finisher badge and leave a record in the player’s Inventory. Allow about 10 minutes. You need a game that you own and have already published, but the badge can be created within Roblox’s current free quota.
Start with the Course > GoalPlatform from Finish Your First Roblox Obby and the published, Private game from Publish a Roblox Game Privately.
Tip — A badge records an achievement
A badge is a medal that stays in a player’s Inventory after they meet a condition, such as reaching the end of an obby. Earning the same badge again does not create a second copy.
1. Create the badge in Creator Dashboard
Open your game in Creator Dashboard. In the left navigation, go to Engagement > Badges, then select Create a Badge.
Upload a square 512×512 image and enter these values:
| Field | Value |
|---|---|
| Name | Goal Finisher |
| Description | Reached the yellow GOAL in the three-stage obby! |
| Badge is Enabled | On |
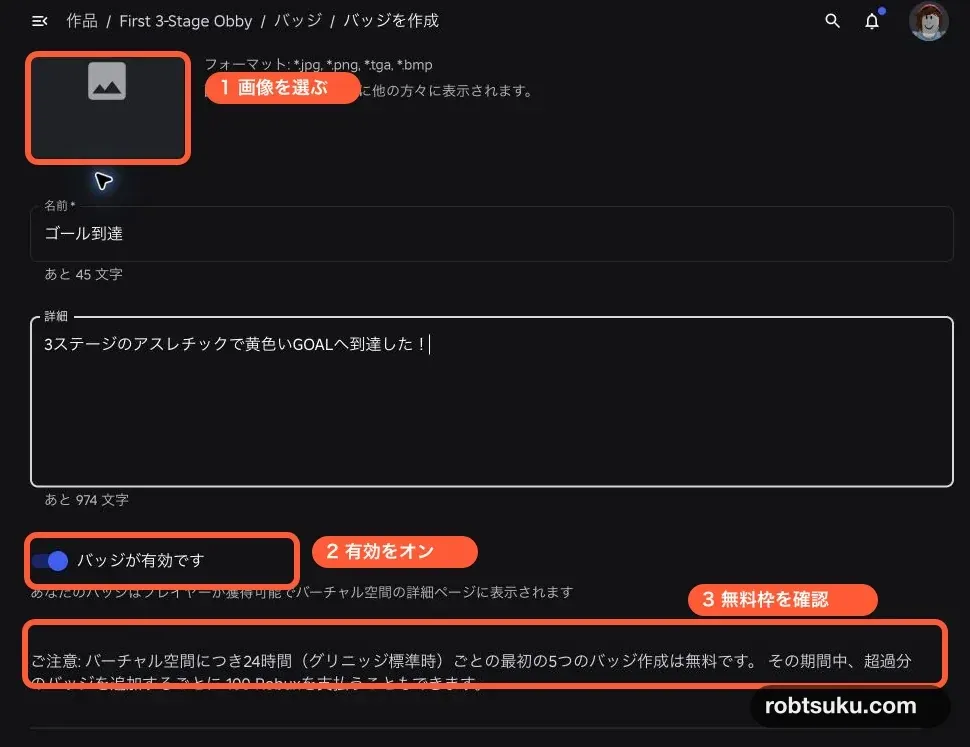
Figure guide: Marker 1 shows the image picker, marker 2 shows the Badge is Enabled switch, and marker 3 shows the creation-cost area. The screenshot uses Japanese Creator Dashboard labels.
Roblox’s official Badges documentation says that the first five badges created for an owned game in each 24-hour GMT period are free; additional badges cost 100 Robux each. This rule was rechecked on July 30, 2026. If the button shows a 100 Robux charge, do not press it. Wait for the next free allocation instead.
Roblox displays badge icons inside a circle, so keep the trophy or other important detail near the center. Leave Badge is Enabled on, then select Create a Badge.
Check the preview after the upload finishes. The central design should remain visible after the circular crop. A name such as Goal Finisher and a description that mentions the yellow GOAL make the award understandable later when the player sees it beside other badges. The image may take time to appear for other users while moderation finishes.
2. Copy the Badge Asset ID
Return to the Badges list and hover over Goal Finisher. Open the three-dot menu and select Copy Asset ID.
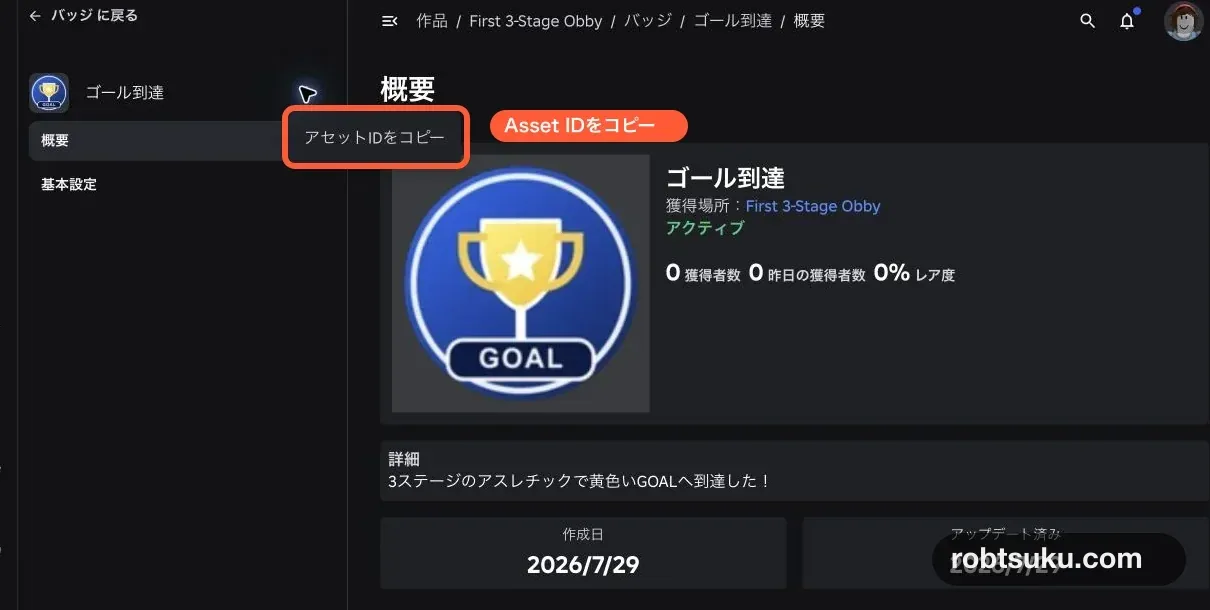
Figure guide: The orange box marks Copy Asset ID in the Japanese menu. Use this number, not the game’s Experience ID or Place ID.
Tip — The Badge ID identifies one badge
Badge ID and Asset ID refer to the same unique number here. The verified badge uses
77529583068327, but your own badge has a different number. Copy it from the menu rather than typing it by hand.
Paste the number after local BADGE_ID = without quotation marks. A badge created for a different game cannot be awarded from this game, so confirm that you copied it from the correct game in Creator Dashboard.
3. Add the GoalBadge server Script
Return to Studio. Add a Script to ServerScriptService, rename it GoalBadge, remove the starter code, and paste this:
local BadgeService = game:GetService("BadgeService")
local Players = game:GetService("Players")

local BADGE_ID = 77529583068327
local goal = workspace:WaitForChild("Course"):WaitForChild("GoalPlatform")
local processing = {}

local function awardGoalBadge(player)
	if processing[player] then
		return
	end
	processing[player] = true

	local infoSuccess, badgeInfo = pcall(
		BadgeService.GetBadgeInfoAsync,
		BadgeService,
		BADGE_ID
	)
	if not infoSuccess then
		warn("Goal badge info failed:", badgeInfo)
		processing[player] = nil
		return
	end
	if not badgeInfo.IsEnabled then
		warn("Goal badge is disabled")
		processing[player] = nil
		return
	end

	local checkSuccess, hasBadge = pcall(
		BadgeService.UserHasBadgeAsync,
		BadgeService,
		player.UserId,
		BADGE_ID
	)
	if not checkSuccess then
		warn("Goal badge check failed:", hasBadge)
	elseif hasBadge then
		print("GOAL_BADGE_ALREADY_OWNED", player.Name)
	else
		local callSuccess, awarded = pcall(
			BadgeService.AwardBadgeAsync,
			BadgeService,
			player.UserId,
			BADGE_ID
		)
		if callSuccess and awarded then
			print("GOAL_BADGE_AWARDED", player.Name)
		else
			warn("Goal badge award failed:", awarded)
		end
	end

	processing[player] = nil
end

local function onGoalTouched(hit)
	local character = hit:FindFirstAncestorOfClass("Model")
	local humanoid = character and character:FindFirstChildOfClass("Humanoid")
	local player = humanoid and Players:GetPlayerFromCharacter(character)
	if player then
		awardGoalBadge(player)
	end
end

goal.Touched:Connect(onGoalTouched)
Players.PlayerRemoving:Connect(function(player)
	processing[player] = nil
end)
Replace the example BADGE_ID with the Asset ID you copied.
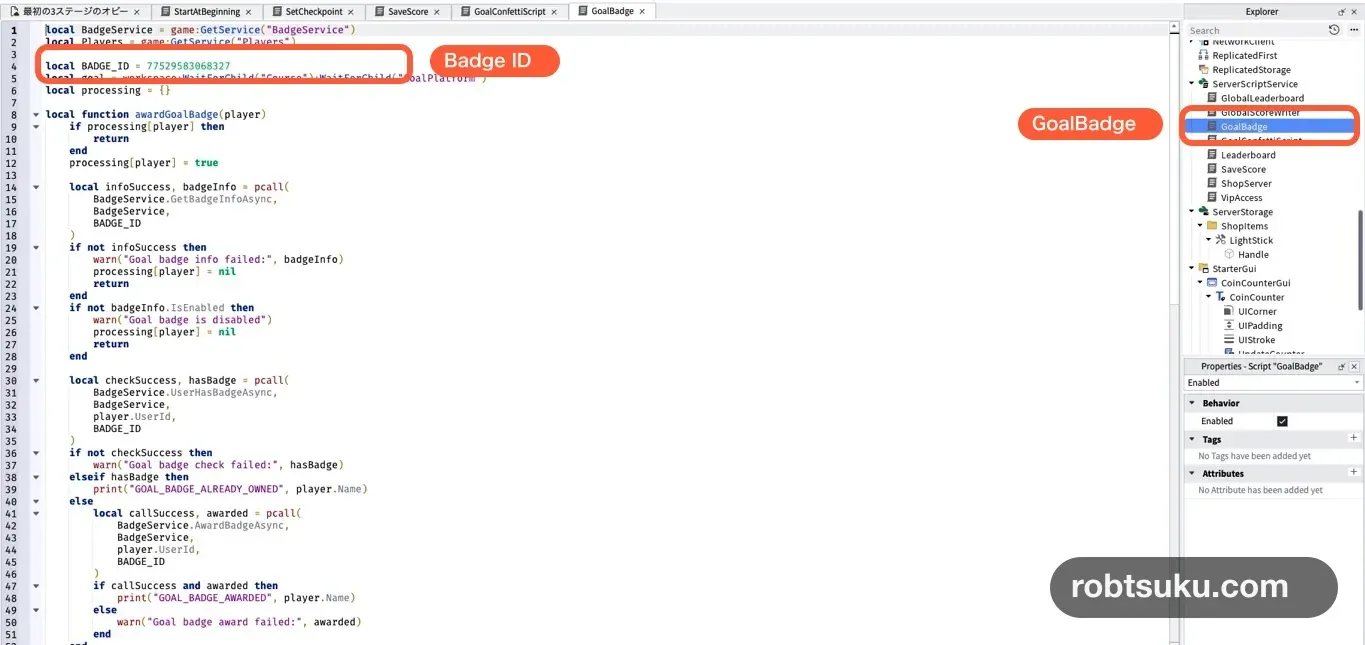
GoalPlatform.Touched can fire for several character parts in quick succession. While one request is running, processing[player] prevents another request for that player from starting.
BadgeService methods communicate with Roblox and can fail temporarily. The Script wraps each call in pcall(): it checks that the badge is enabled with GetBadgeInfoAsync(), checks ownership with UserHasBadgeAsync(), and calls AwardBadgeAsync() only for a player who does not own it. Roblox’s award badges guide also requires the award call to run from a server Script.
Keep this logic on the server. A LocalScript runs on the player’s device and could be changed to request an award without touching the goal. Here, the server observes contact with the real GoalPlatform and decides whether to call BadgeService.
4. Test the first award and the owned branch
Press Play, open Output, and walk onto the yellow GOAL. The first successful touch should show the native badge notification and print:
GOAL_BADGE_AWARDED robtsukuStop the test. Open the player’s Roblox Inventory, choose Badges, and check that Goal Finisher appears.
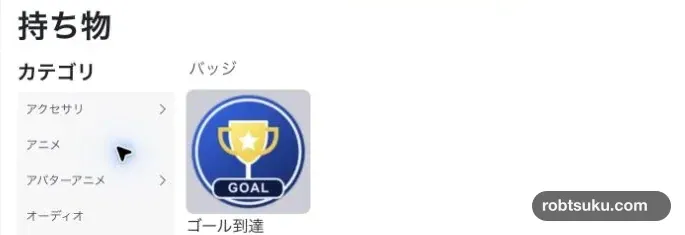
Figure guide: The Japanese screenshot shows Inventory (
持ち物), the Badges category (バッジ), and the created goal badge (ゴール到達). Your English badge will use the name Goal Finisher.
Start a new Play session with the same account and touch the GOAL again. The Script should not create another badge. Output should print:
GOAL_BADGE_ALREADY_OWNED robtsukuCheck four visible results: the first award notification, the badge in Inventory, the already-owned message during the second Play session, and no red error from GoalBadge.
If Inventory has not updated yet but Output shows GOAL_BADGE_AWARDED, wait briefly and reload the Inventory page instead of repeatedly touching the goal. If Output shows a warning, correct that problem before starting another Play session.
Troubleshooting
- Creator Dashboard will not create the badge: Check that the game is published and owned by the signed-in account.
- The button shows 100 Robux: Do not create it. Wait for the next free quota period.
Goal badge info failedappears: Copy the badge Asset ID again; do not use the Experience ID.- The badge is disabled: Turn on Badge is Enabled in Creator Dashboard.
- Touching the goal does nothing: Check the exact
Course > GoalPlatformnames and hierarchy. - Owned players still reach the award call: Restore the
UserHasBadgeAsync()check and thehasBadgebranch.
Completion check
- A player who does not own the badge receives it after touching
GoalPlatform. - The badge appears under Inventory > Badges.
- A new Play session with the same account prints
GOAL_BADGE_ALREADY_OWNED. - One goal touch produces one award result without overlapping
GoalBadgeerrors. - A BadgeService warning does not stop the rest of the game.
The GOAL now records a player’s achievement without awarding duplicate badges or trusting the client.
Official sources
Roblox Goal Confetti with ParticleEmitter
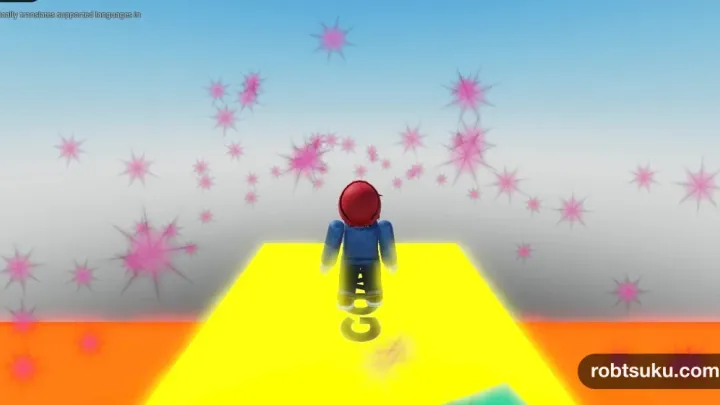
Emit one burst of pink particles when a player touches GoalPlatform, then let the effect end instead of running continuously.
Build this feature