Roblox Studio Parts: Move, Scale, Rotate, Anchor
Add a Part in Roblox Studio, shape it with Move, Scale, and Rotate, then anchor it in the air to make your first platform.
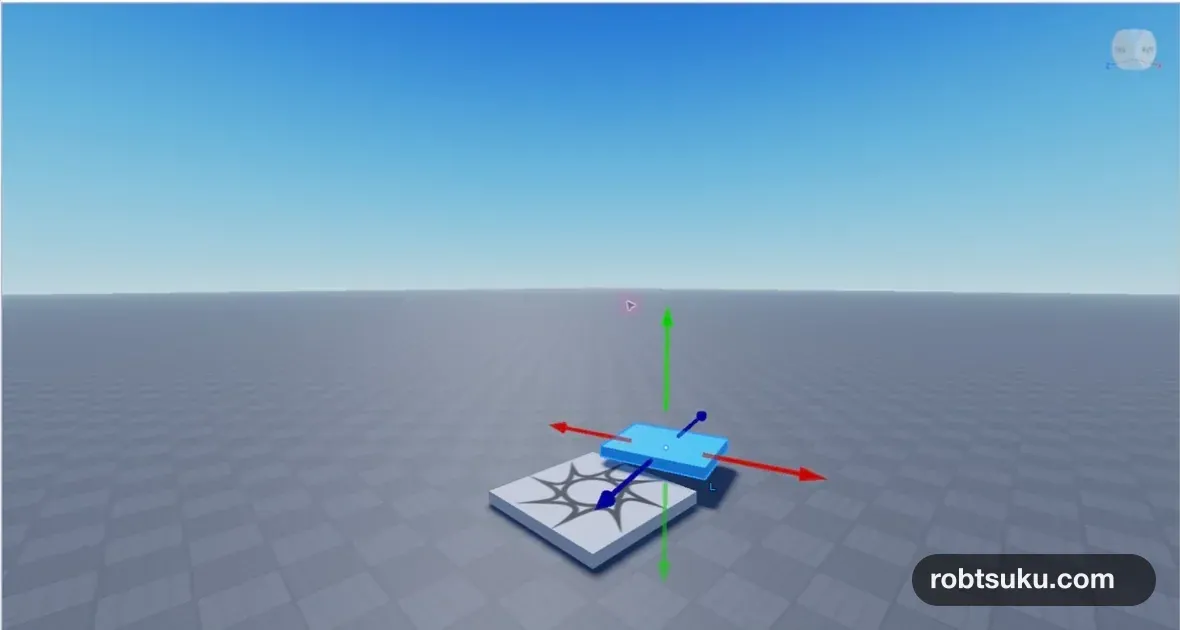
Place one blue platform above Baseplate and make it stay in the air during a playtest. The previous lesson showed you how to open Baseplate and use Play and Stop.
You will build it from a Part, Roblox’s basic 3D building block. You will change its position and shape with Move, Scale, and Rotate, then use Anchored to hold it in the air. When you finish, you will be able to jump from SpawnLocation onto a blue platform that stays in place during a playtest.
The interface shown here was checked in Studio on July 22, 2026. If your layout is slightly different, look for Home along the top and Explorer and Properties on the right.
Add one Part
Open Baseplate and click Part once on the Home toolbar.
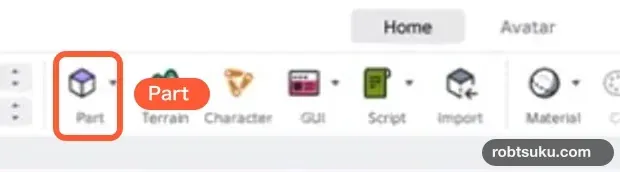
A gray block appears in the middle of the 3D viewport, and a new Part appears under Workspace in Explorer.
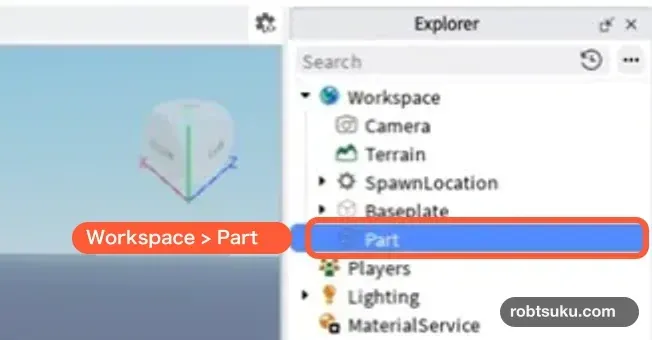
Select the new Part in Explorer and rename it FirstPlatform. Slowly double-click its name, or select it and press F2, to edit the name. If you later lose track of your platform, its name in Explorer will help you find it.
The official Roblox Parts documentation describes Parts as the basic building blocks of a 3D world. By default, physics such as gravity affects them. A Part can fall during a playtest until you anchor it, so continue through the anchoring step.
Move the platform
Select FirstPlatform, then click Move on the toolbar. Red, green, and blue arrows appear. Dragging an arrow moves the Part along that one direction.
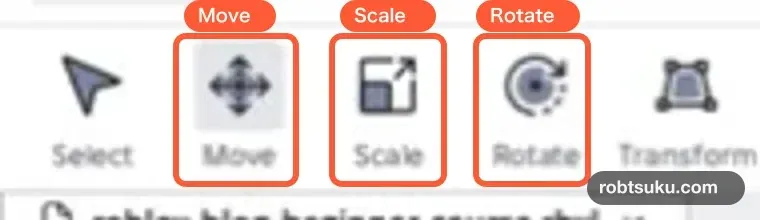

Move the platform a short distance in front of SpawnLocation. If the camera angle makes it hard to see, select FirstPlatform in Explorer and press F to focus the view on it. If you move it by mistake, press Command + Z on Mac or Ctrl + Z on Windows to undo the last action.
To match the lesson exactly, open Position in Properties with the arrow on its left. Set X to 0, Y to 2, and Z to -10. Coordinates are written in X, Y, Z order. Y controls height, so a value of 2 lifts the platform slightly above the floor.
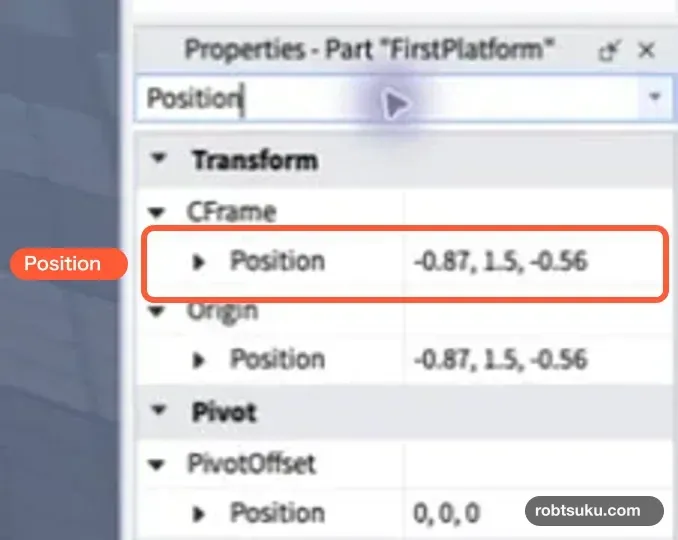
Tip: Measurements use studs
Studs are the unit of length used by Position and Size. The official Roblox units reference gives about 28 cm as a useful estimate for
1 stud. Orientation is different: it measures rotation in degrees.Position describes the center of a Part, not its bottom. This platform has a Position Y of
2and a Size Y of1, so its top surface is2.5 studsabove the floor. A standard avatar is about 5 to 6.5 studs tall, and this series starts with a jump height of about7.2 studs. A top surface at2.5 studsleaves enough room for a comfortable first jump. You can find the avatar-height and jump settings in Avatar Settings and Experience Settings.
Scale it into a wide landing
Select Scale. Round handles appear instead of arrows. Drag the side and front handles outward to make a wide platform that is easier to land on.

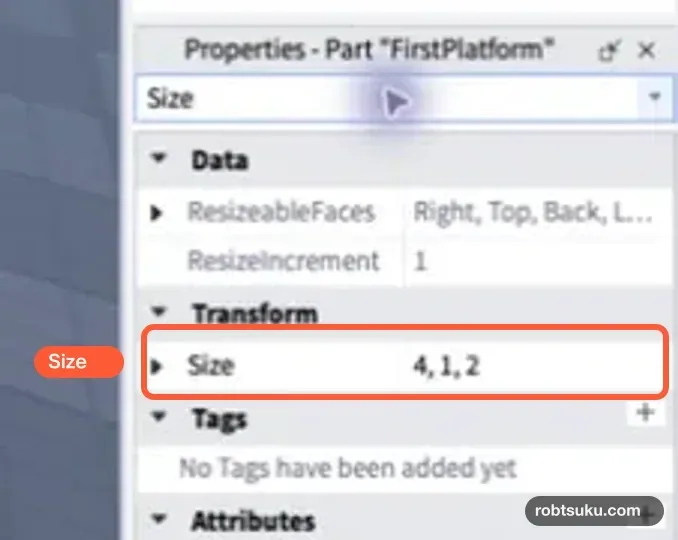
To use exact dimensions, open Size in Properties and set X to 10, Y to 1, and Z to 8. Y gives the platform its thickness of 1, X gives it a width of 10, and Z gives it a depth of 8. The official Work with parts guide also demonstrates shaping Parts with the Move, Scale, and Rotate handles.
Rotate it slightly
Select Rotate to show red, green, and blue rings. Drag the green ring a short distance to turn the platform when viewed from above.

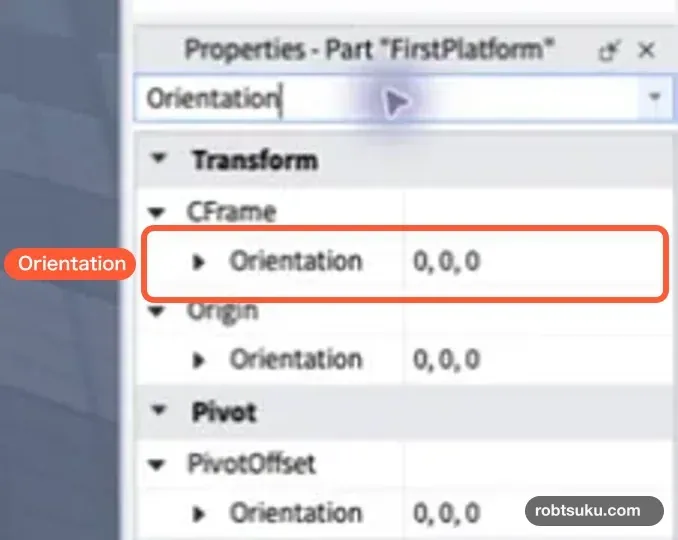
A steep tilt would make the landing difficult. Open Orientation in Properties and set X to 0, Y to 15, and Z to 0. The platform stays parallel to the floor and turns only 15 degrees to the side. You can also switch tools with the keyboard: 2 selects Move, 3 selects Scale, and 4 selects Rotate.
Anchor the platform in the air
Keep FirstPlatform selected and click Anchor on the Home toolbar. When the button shows as selected, the platform is anchored. Turning on Anchored in Properties does the same thing.
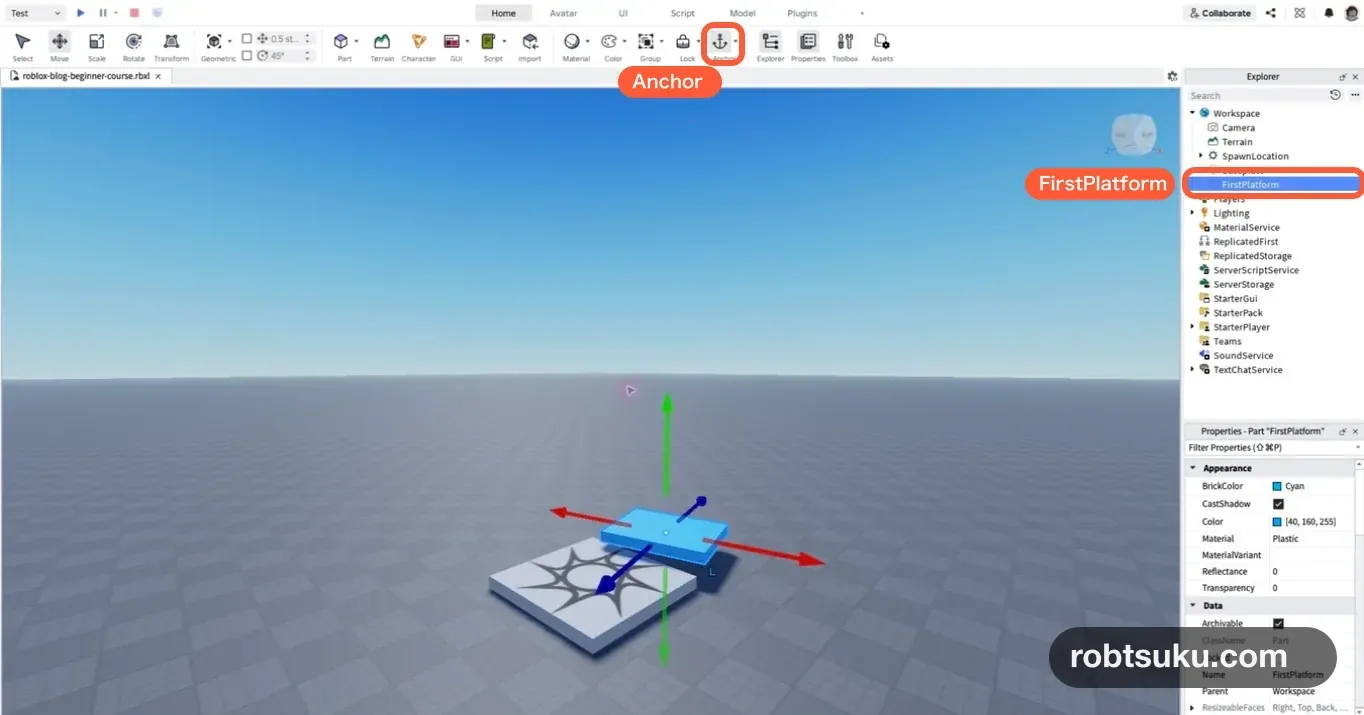
Anchored means that physics will not move this Part. The official Parts documentation explains that an anchored Part does not change position because of gravity or other physical forces. Check Anchored before playtesting floors, platforms, and walls that should remain still.
Playtest the jump
Click Play, then walk toward the platform with W, A, S, and D. Press the Space bar shortly before the edge and jump onto the blue surface. The platform is ready when it stays in place and your character can stand on it.
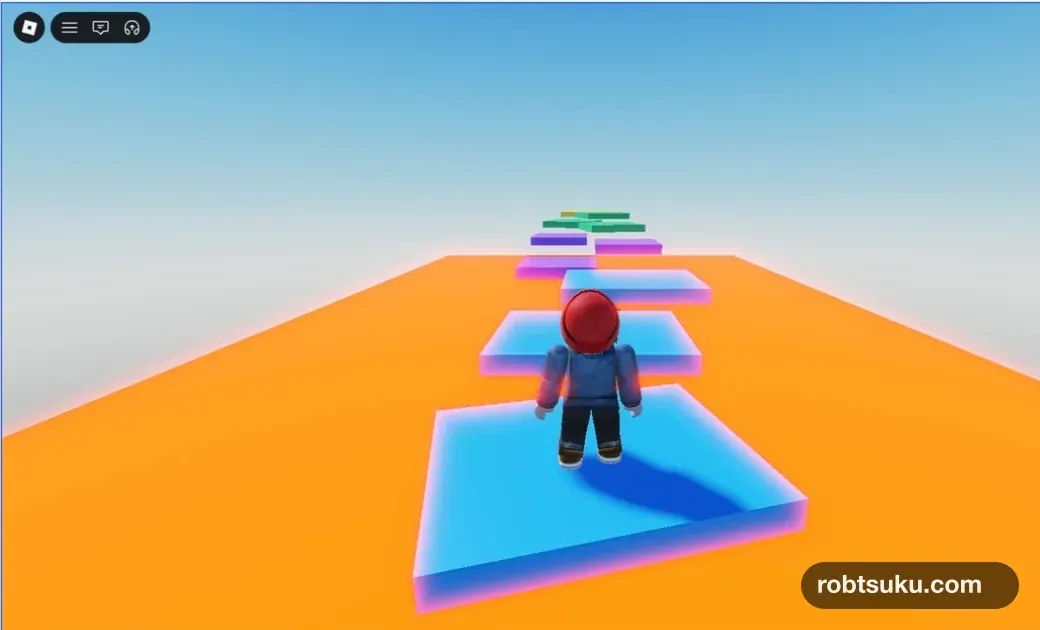
If the platform falls, click Stop, select FirstPlatform, and check Anchor again. If the jump is too far, move Position Z about 2 studs closer to SpawnLocation or increase Size Z slightly. Changes made during a playtest disappear when you click Stop, so return to edit mode before adjusting the platform.
Completion check
FirstPlatformappears in Explorer- Its Size is close to
10, 1, 8, making a wide, thin platform - It sits slightly above the Baseplate
- Anchored is on
- It stays in place during a playtest, and your character can jump onto it
You can now select a Part, move it, enlarge it, rotate it, and anchor it. In the next lesson, you will duplicate this platform and arrange three color-coded stages.
Next lesson: Build Your First Obby: Make a Three-Stage Course